C
by Coen on 21 May 2022, edited 12 Nov 2022
#
Not really a BlenderBIM question, more a Blender question. But I think i will ask it here because I make the assumption people on this board will already know Revit and it would be easier for me to explain what I am trying to achieve.
Question 1:
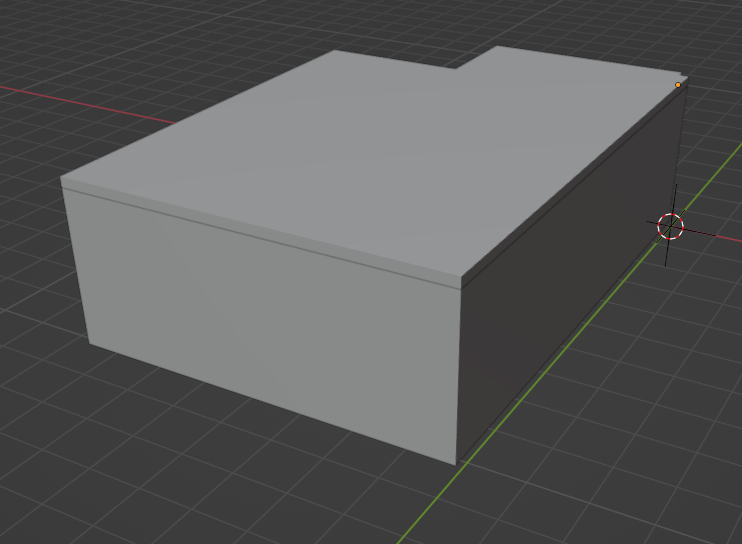
How do you attach the top/bottom of a wall to the base of a slab? Let's say I want the location of the IfcSlab changed, I would like to see the IfcWall height move with it as well. Just like in Revit
Question 2:
How can you quickly select the inner or outer edge loop? In Revit you could select one edge and then press tab. It would select the edge loop. But in Blender there are numerous ways of selecting and after googling I get completely lost.
H
by Humba on 21 May 2022
#
Question 1: you can tell Blender that the walls and the slab "belong together" by parenting them (object mode > object menu > parenting). The order in which you select the objects is important: select the child objects first, and select the parent object last. See https://docs.blender.org/manual/en/latest/scene_layout/object/editing/parent.html
Question 2: In edit mode: select one edge of the inner loop with alt-LMB (left mouse button) and you will select the whole loop.
Hope that does it for you.
N
by Nigel on 22 May 2022
#
Hi @Coen You can use a 'driver' to make the floor slab or roof slab adjust with the wall Z heights
I don't know how this works with BlenderBIM though?
H
by Humba on 22 May 2022
#
Sorry Coen, I misread your first question. I thought you just wanted the walls to stick to the slab when you move the slab, but now I see that you want the height of the walls to adapt relative to the position of the slab. So parenting is not going to work for that.
I'm pretty sure what you want could be done with geometry nodes. Unfortunately I can't help you there, since I'm still trying to find my way in geometry nodes myself.
N
by Nigel on 22 May 2022, edited 22 May 2022
#
+1 votes
Hi, I don't know if this is of any use, using a driver to fix a roof to a wall height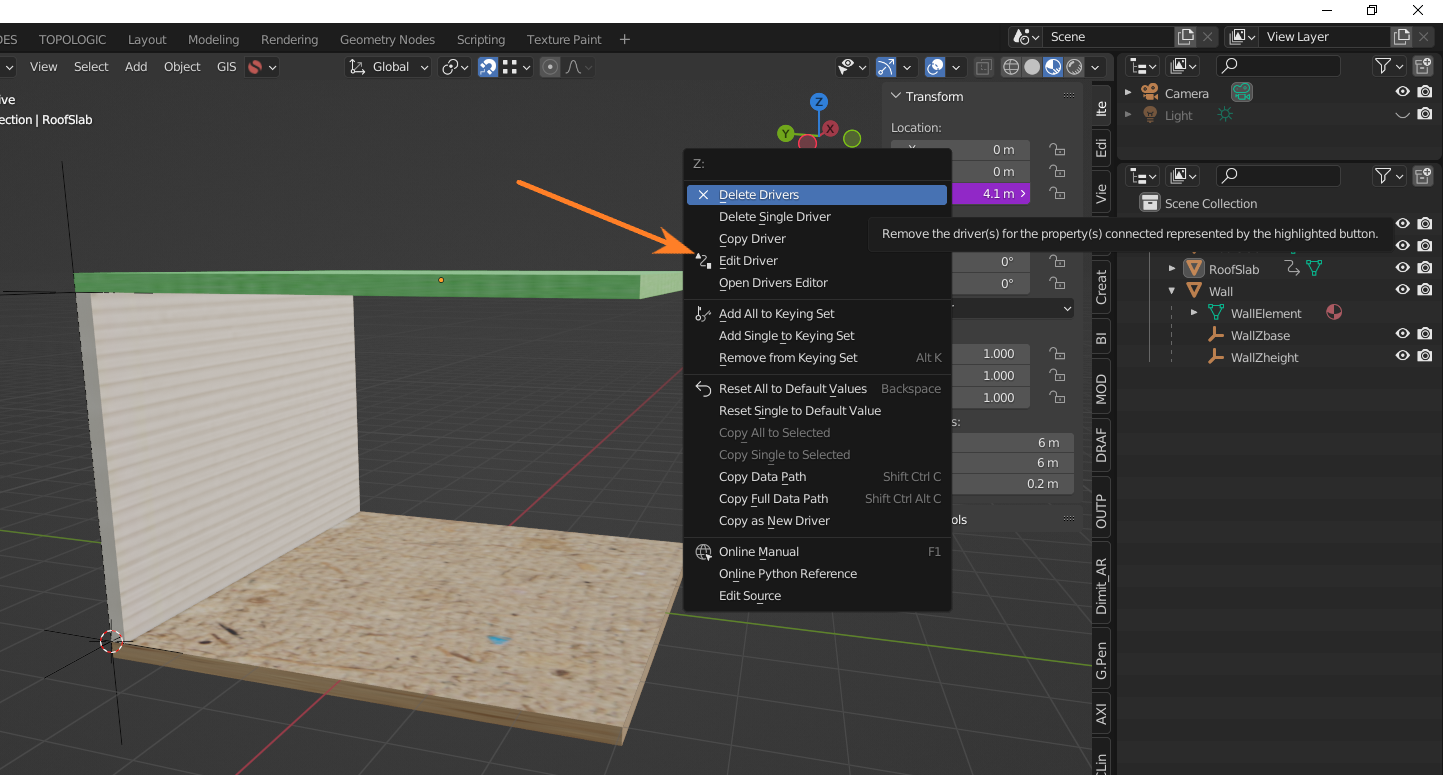
, rename .txt to .blend
T
by theoryshaw on 22 May 2022
#
+1 votes
Drivers, but unfortuately not codifed in ifc, yet.
https://community.osarch.org/discussion/456/blenderbim-constraining-wall-heights-to-floor-elevations-and-slab-thickness-with-blender-drivers
N
by Nigel on 22 May 2022
#
@theoryshaw said:
Drivers, but unfortuately not codifed in ifc, yet.
https://community.osarch.org/discussion/456/blenderbim-constraining-wall-heights-to-floor-elevations-and-slab-thickness-with-blender-drivers
that's a pity, @theoryshaw said 'yet' so I guess that means it will be possible in the future?
N
by Nigel on 24 May 2022
#
+2 votes
@theoryshaw said:
...if we will it. :)
I'm trying to use some Jedi mind tricks right now
C
by Coen on 25 May 2022
#
@Nigel said:
Hi, I don't know if this is of any use, using a driver to fix a roof to a wall height
, rename .txt to .blend

How should I used your file? I am confused. If I drag the empty of mesh the slab does not go with it. No idea how drivers work....
N
by Nigel on 26 May 2022, edited 26 May 2022
#
+1 votes
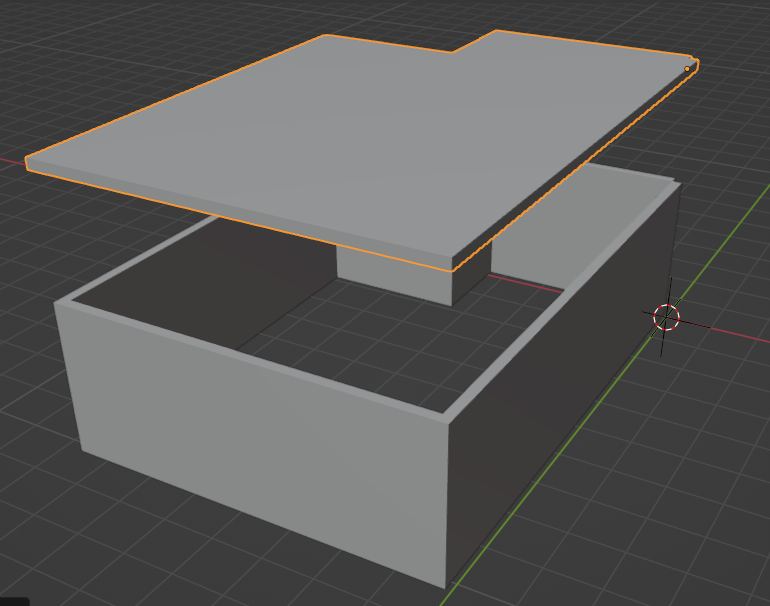
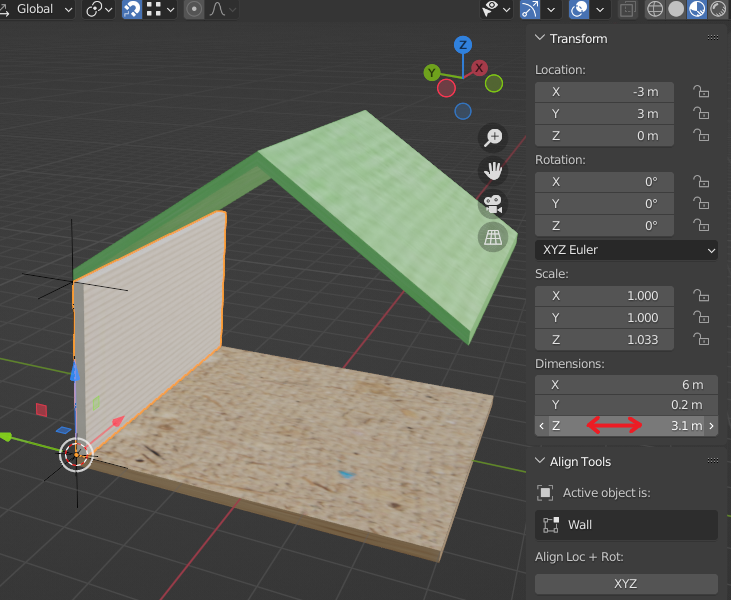
Hi @Coen sorry about my oblique post, select the wall as shown and use the N panel and adjust the Z height is the wall and the roof slab will move with it. This is about using an object to dry the size/behaviour of other objects
C
by Coen on 26 May 2022
#
@Nigel said:
Hi @Coen sorry about my oblique post, select the wall as shown and use the N panel and adjust the Z height is the wall and the roof slab will move with it. This is about using an object to dry the size/behaviour of other objects
Ah very easy :-), I see the scale also changes, would be interesting to see how this behaves when exporting to IFC and roundtripping.
N
by Nigel on 26 May 2022, edited 26 May 2022
#
Hi @Coen I don't think roundtripping works, if I understand correctly what @theoryshaw meant in a previous post.
Drivers are cool, even from my rudimentary understanding of them
T
by theoryshaw on 26 May 2022
#
+3 votes
Correct, drivers don't roundtrip.
Not an expert, but what I know, if seems using entries such as IfcConstraint, and IfcMetric would be the ideal candidates for storing driver constraints.
@geometrygym has a couple examples, here and here.
For better understanding, Using this tool, I commented them out here and here.
T
by theoryshaw on 26 May 2022
#
related: https://community.osarch.org/discussion/comment/10331
C
by Coen on 31 May 2022
#

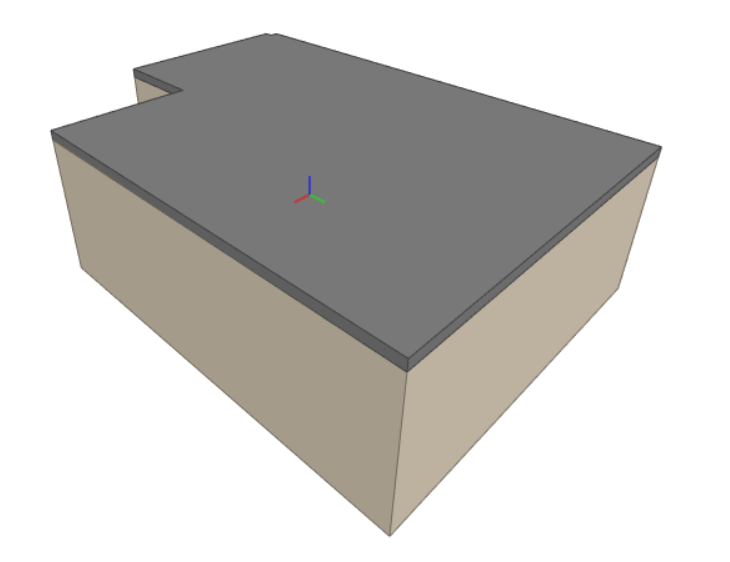
How do I trim these two edges? Is there an add-on for it? Or can it be done natively in blender?
googling again gave me so many different ways and results, I prefer asking here, which also turns into knowledge sharing.
C
by Coen on 31 May 2022
#
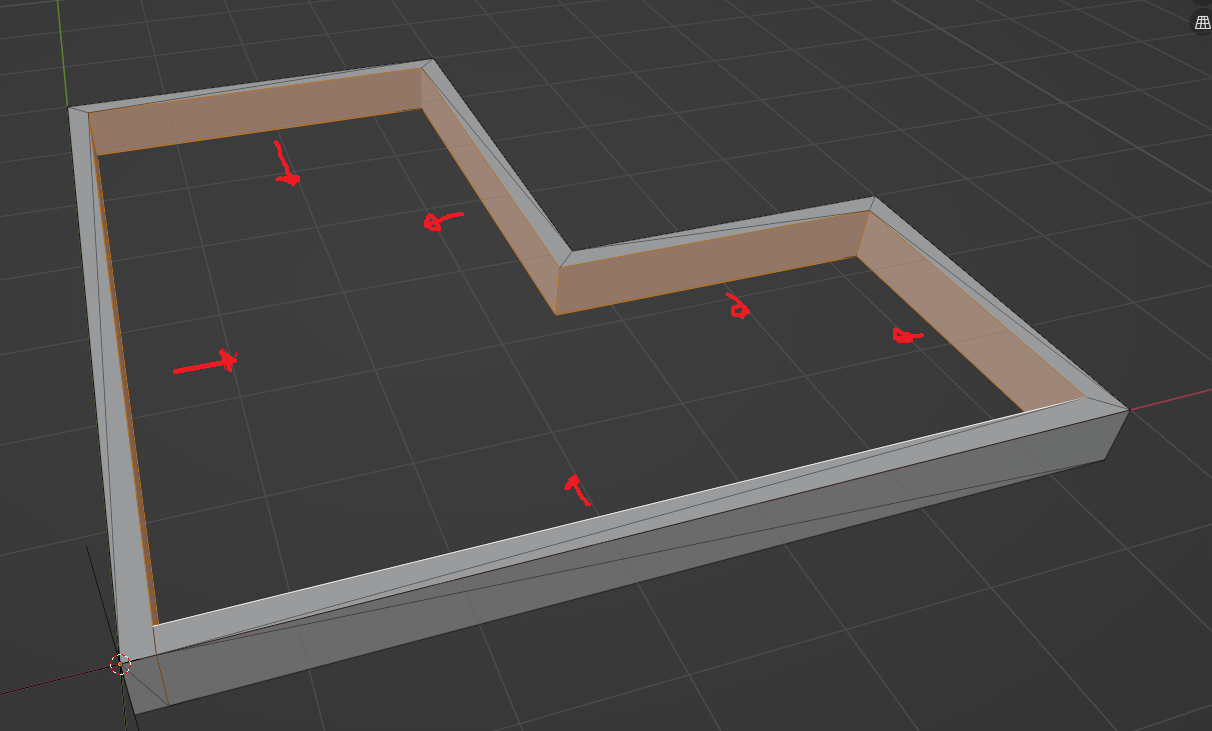
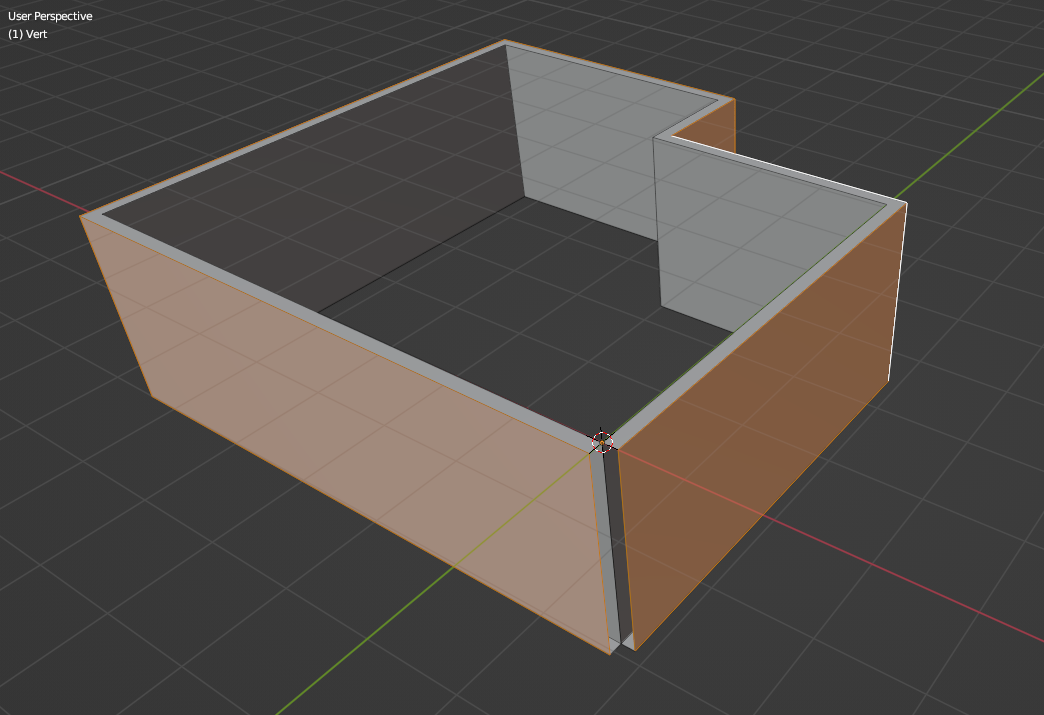
How can I off/inset all these faces? This seems like a way to rountrip the thickness of an IfcWall
G
by Gorgious on 31 May 2022
#
+4 votes
Q1 : Enable TinyCAD addon that's shipped with blender. In edit mode, select both edges. Right click > TinyCad > XALL | Intersect selected edges
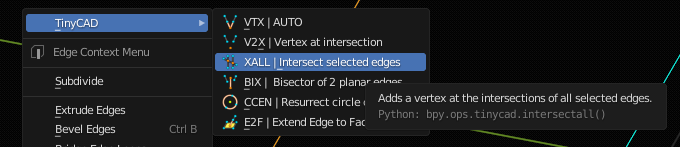
Select the 2 overhanging vertices and delete them.

Granted it's a bit too much clicking coming from a CAD software but that's reliable enough. It can be done for any selection of edges so you can trim multiple pairs of edges, at least.
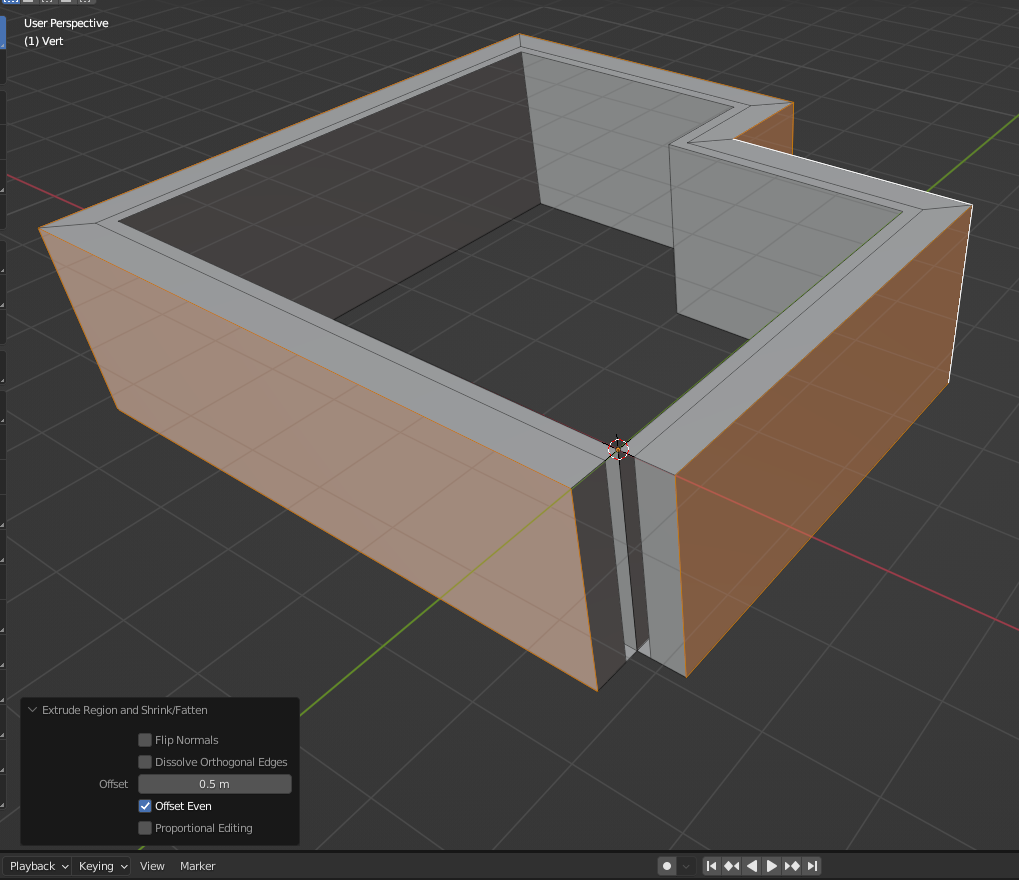
Q2 : ALT + Left click your face ring in face select mode, then, ALT + E to bring the extrude menu, and choose "along normals". Left click to validate and go into the redo panel in the lower left corner or press F9. Check "Offset Even".

C
by Coen on 31 May 2022
#
@Gorgious
Thanks, I didn't really get how you managed to only select the inner or outer faces.
ALT + Left click your face ring in face select mode
When holding alt it only selects one face
I know when selecting an edge loop, I use alt+shift+left mouse click
Is there some similar method for using a "face loop" if that's a word.
G
by Gorgious on 1 Jun 2022
#
It's weird. Have you changed the default keymaps by any chance ?
C
by Coen on 1 Jun 2022
#
@Gorgious said:
It's weird. Have you changed the default keymaps by any chance ?
Probaly I did something wrong, I can now select all faces, but I am still confused how you managed to select only the inner face loop.
When I select the face loop, it select the whole loop of the face, which is logical because my wall is in fact a face loop.
Is there also a possibitly to use manifold by normal? or move the faces by normal? extrude causes edges I don't want.
G
by Gorgious on 2 Jun 2022
#
+1 votes
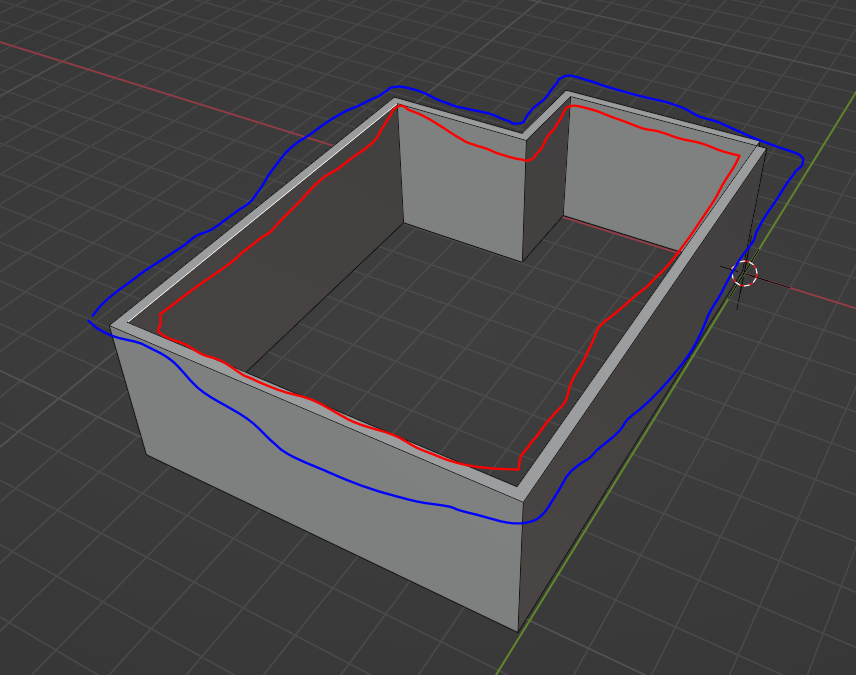
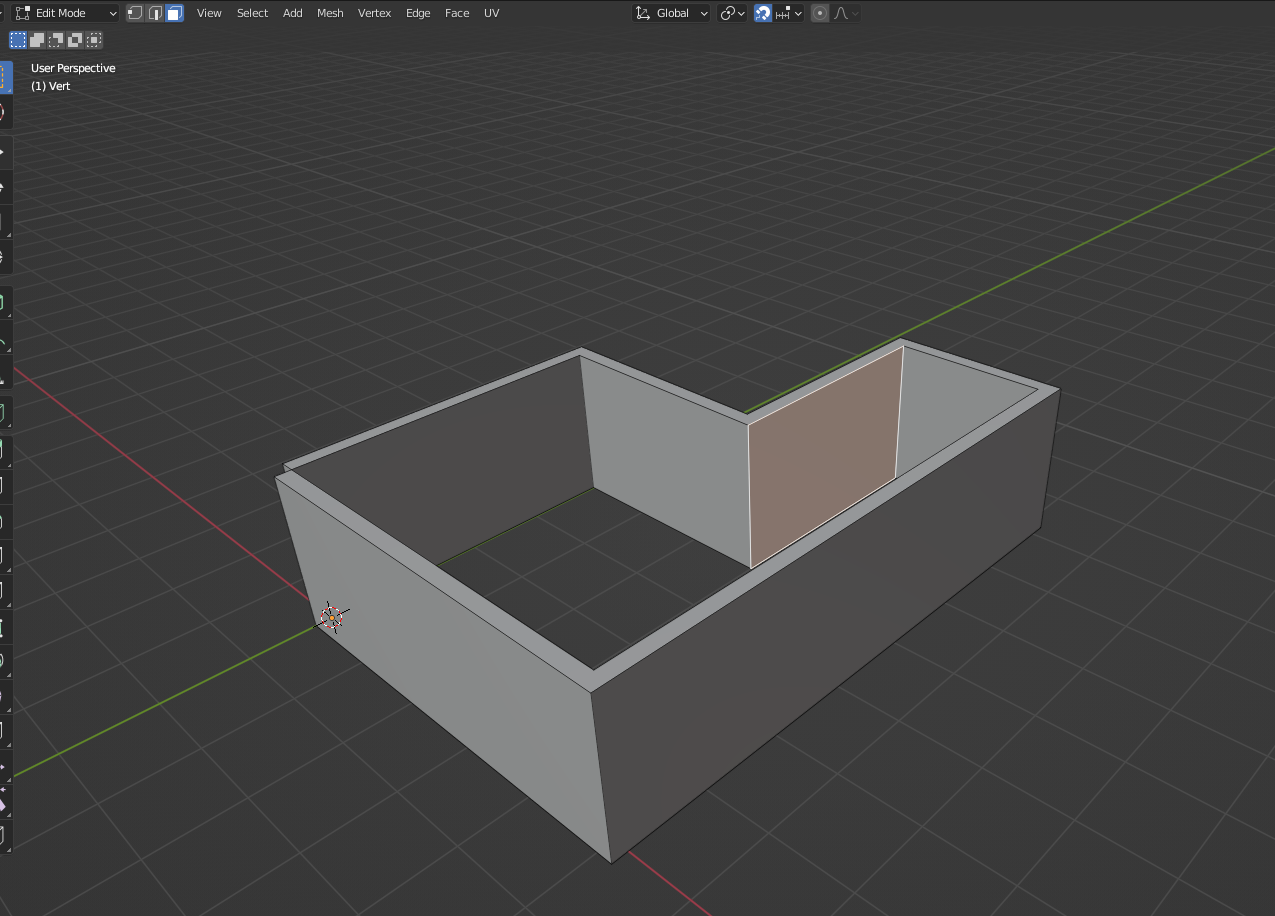
Yeah it's because your model is one continuous loop, there is no inner and outer face loops since there is only one face loop with all your vertical faces. You can hide the two faces that separates inner and outer face loops in edit mode (H) and ALT + Click the faces afterwards. I don't think you can select by manifold-ness with default tools. It could be scripted though. I think to remember there is such a tool in the ifcopenshell toolbox ?
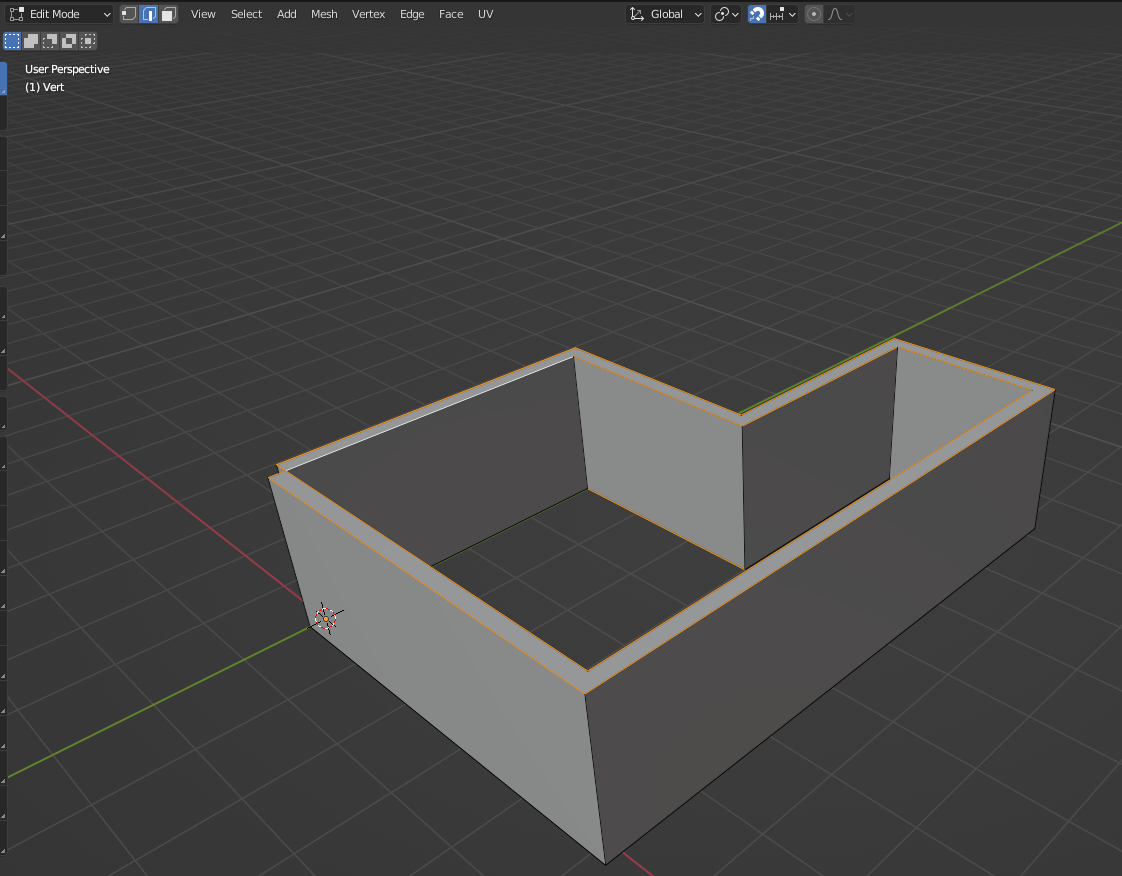
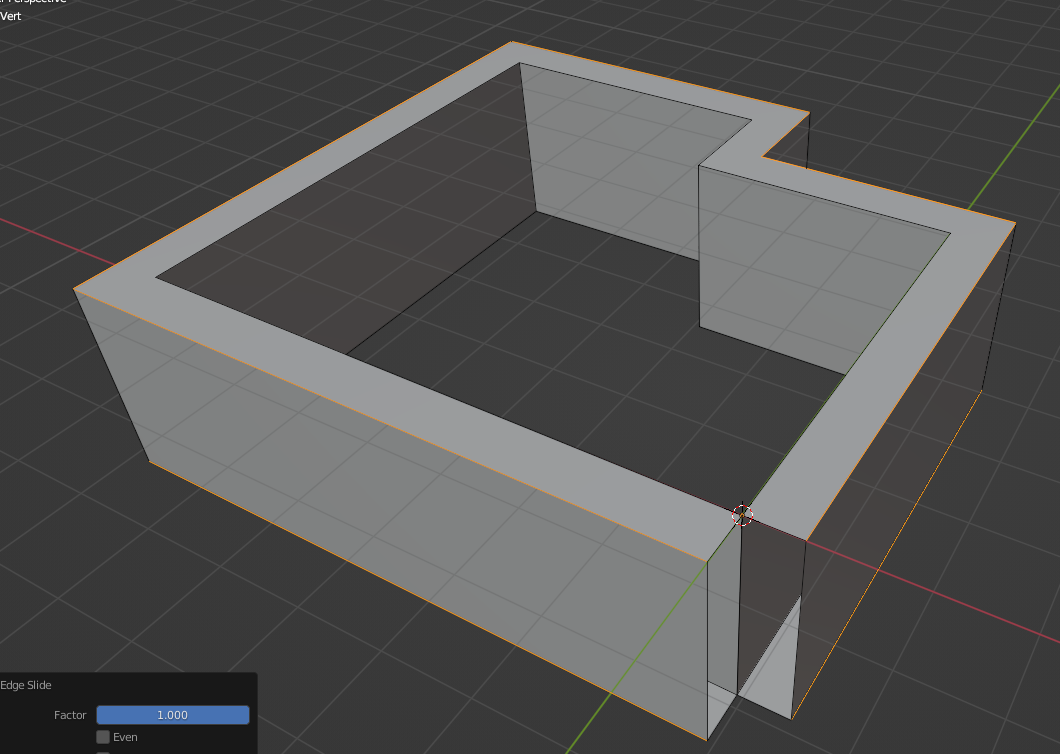
Here's how you can clean the edges afterwards, it's one more step but it should approach your end goal. Enable "Auto Merge", select you edge loop with ALT + Left click in edge select mode, press G 2 times and move your mouse towards the left or right so that it coincides with the inner our outer loop.
C
by Coen on 2 Jun 2022
#
+2 votes
@Gorgious
Thank you very much!
I managed to select the inner or outer faces by hiding the face so the loop doesn't continue. Like you said
I can select the inner face
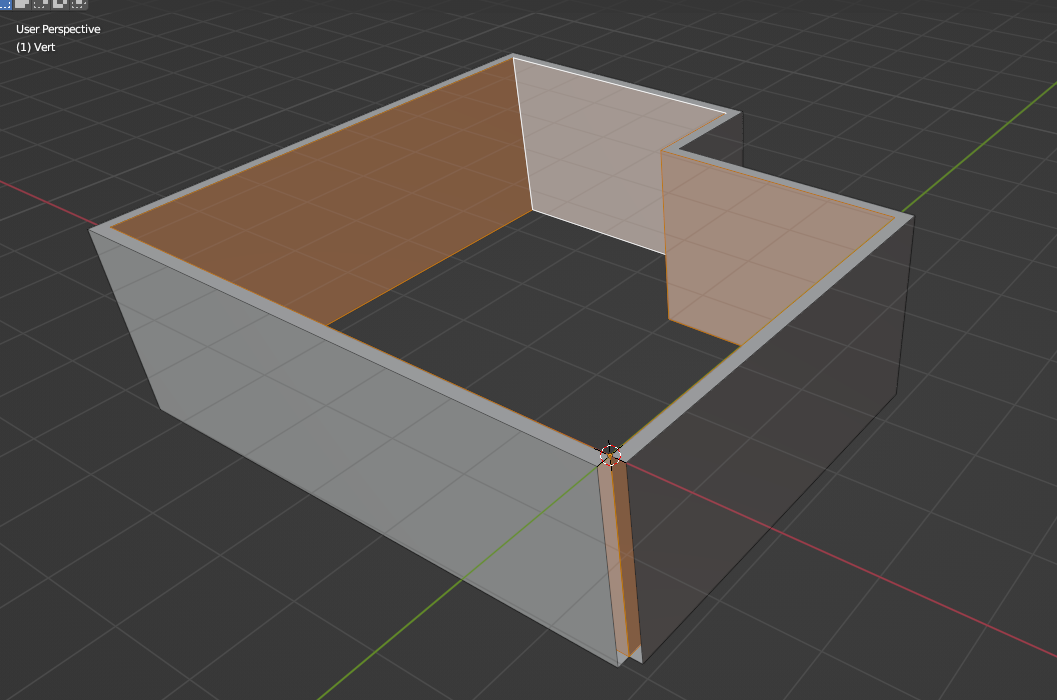
Or the outer face
Using extrude along normals
and again selecting the edge loop on top and the bottom with shift+alt+left mouse click, and enabling auto merge vertices. I get exactly the result I want.
The more I learn about Blender the more excited I get, I am going to experiment a bit with some random IFC files, see if I can change the wall thickness by modifying/manipulating the geometry. Thank you again :-)
C
by Coen on 6 Jun 2022
#
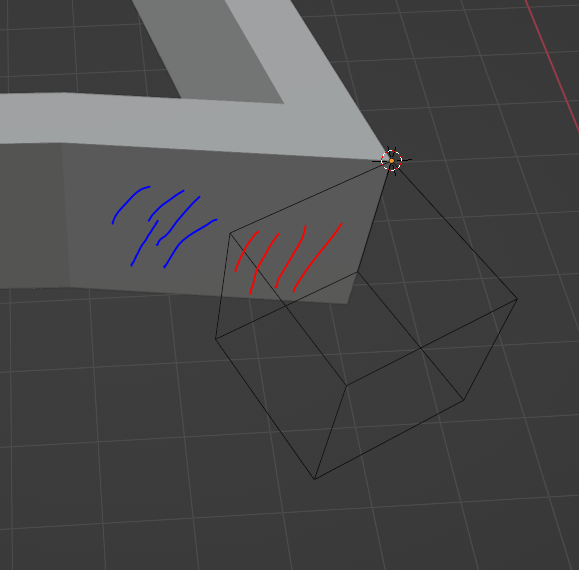
What would be the quickest way of aligning a face like this in Blender? I know Revit had a a handy tool named align. Would be cool with keeping IFC roundtripping into consideration. No weird geometry results on IFC export and import.